Do-it-Yourself Warping Pegs
Welcome to the first post in my More Time than Money series. Here I show you how to make do-it-yourself warping pegs. Looms are a big investment so if you can cut a cost here and there on accessories, why wouldn’t you?
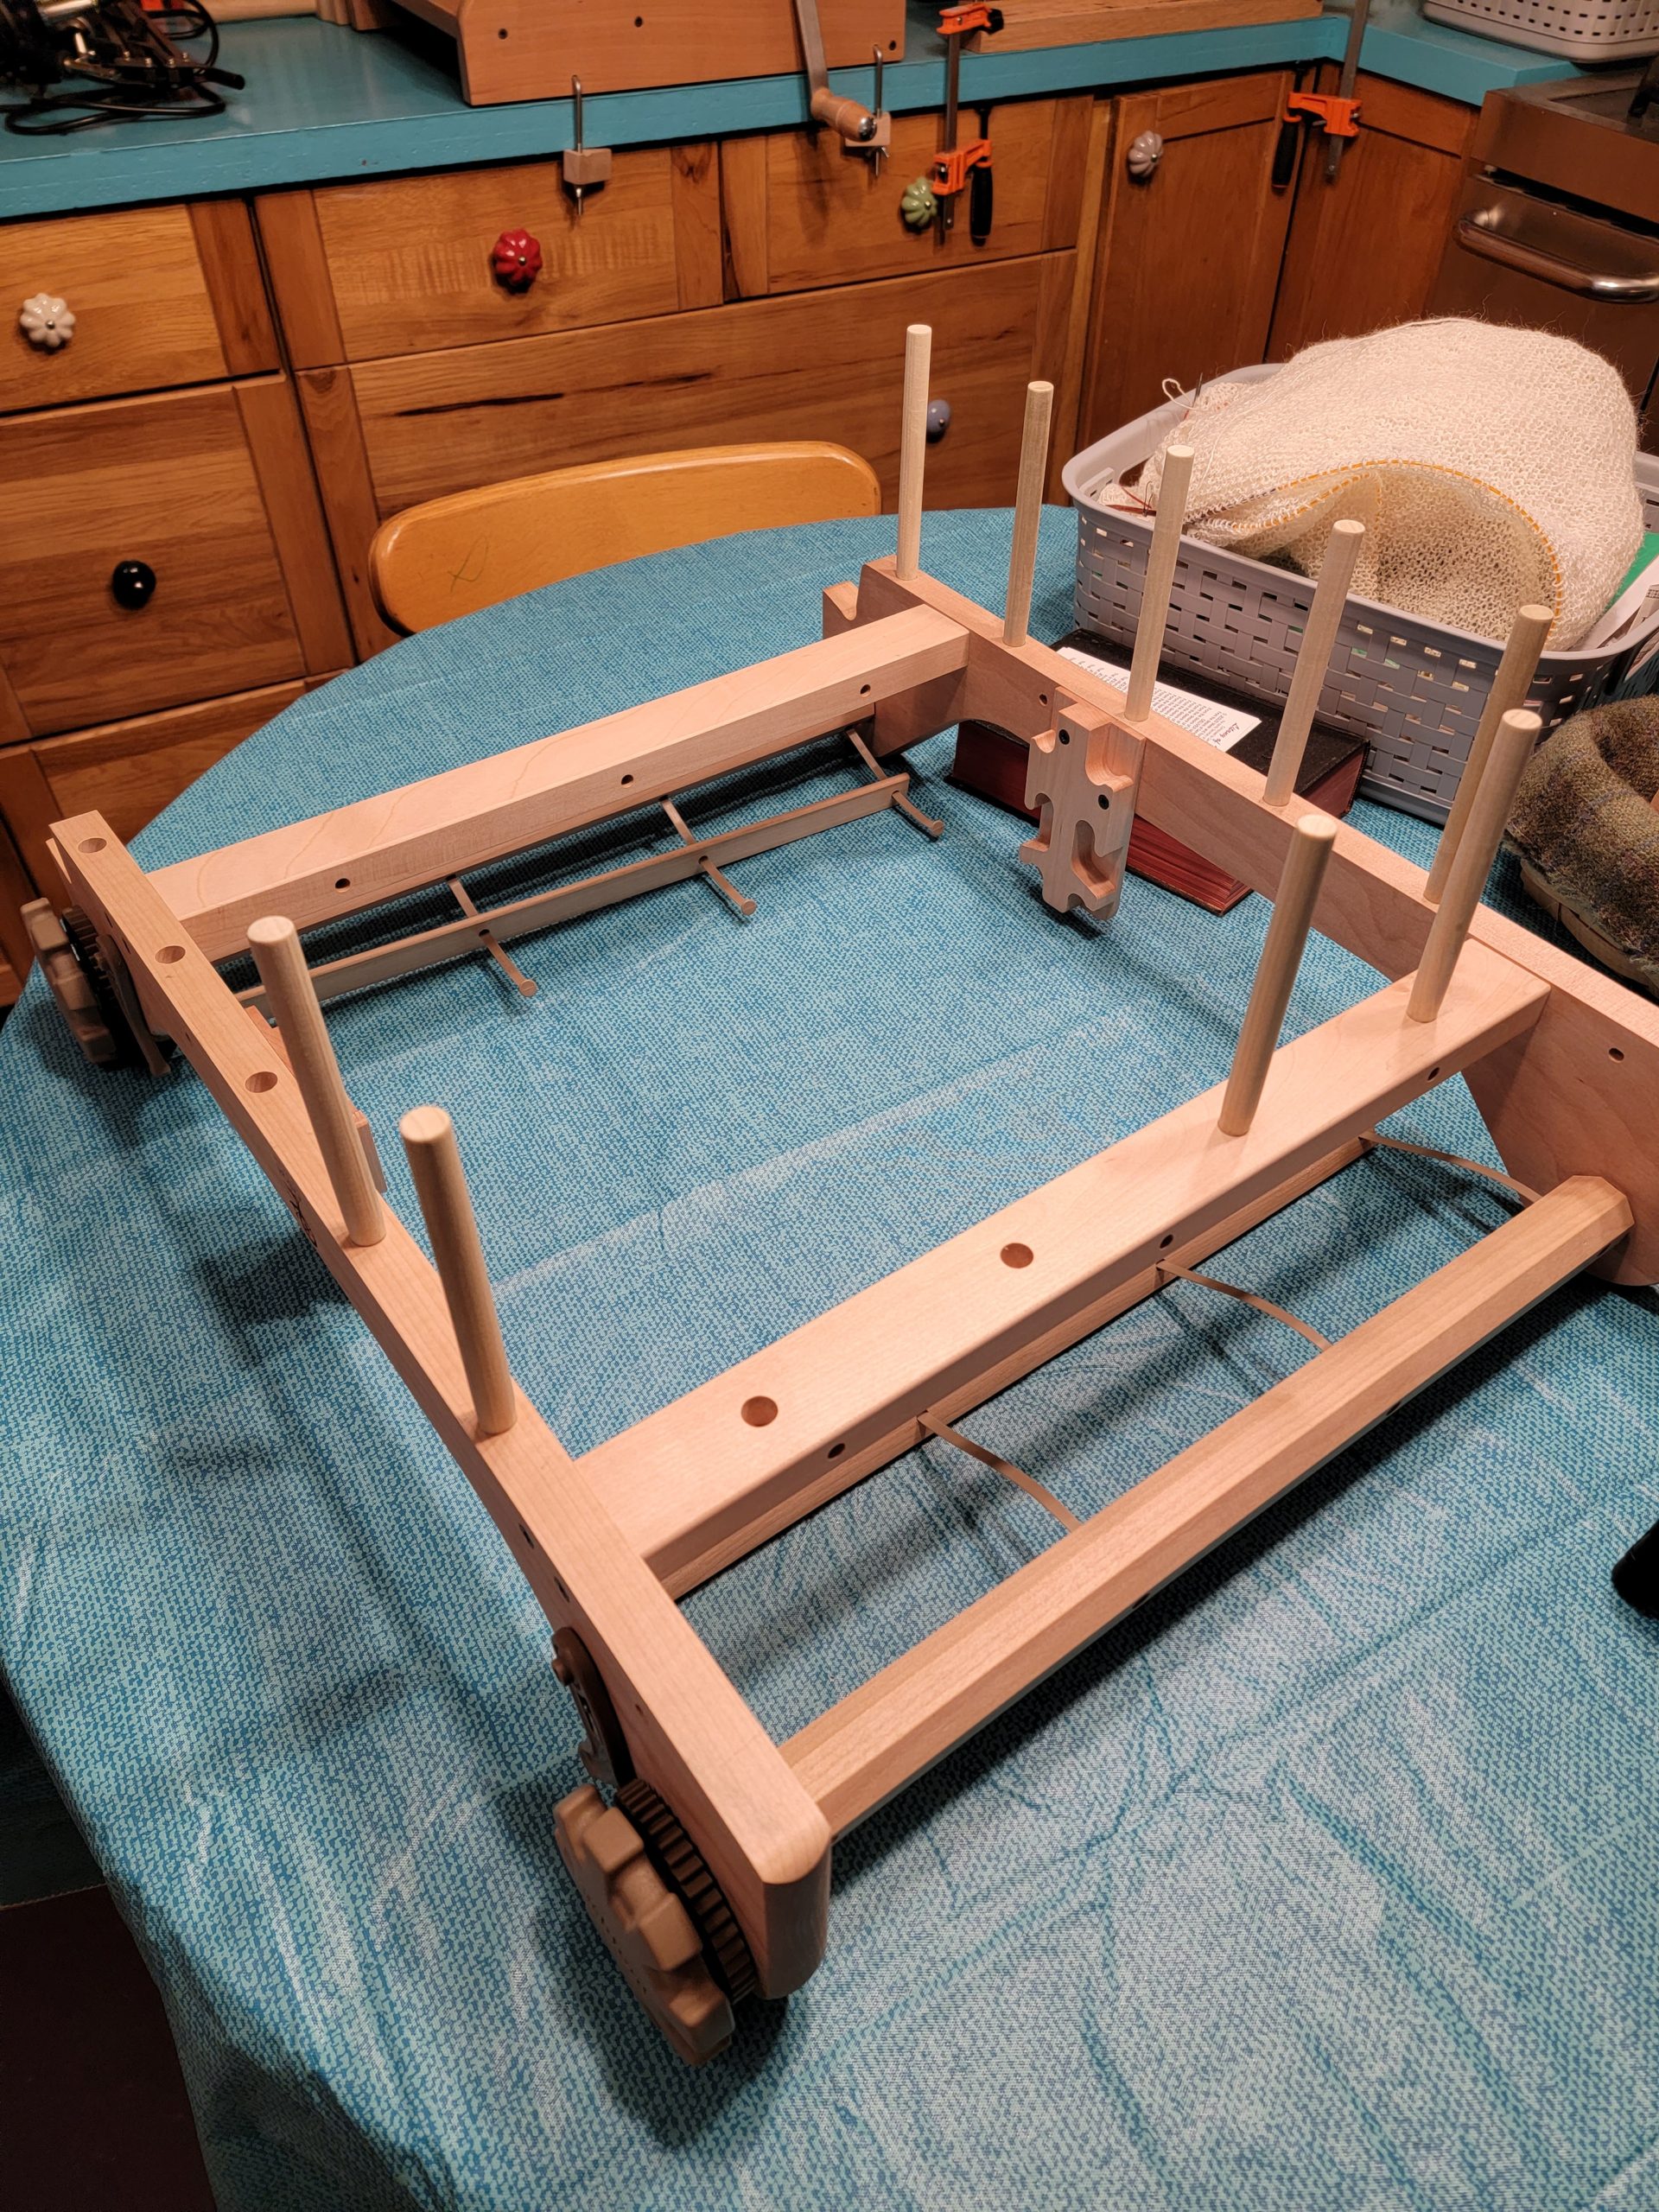
Ashford sells warping pegs for their newest looms. You can flip the loom over and use the bottom for a warping board. The warping board was important to me because I don’t have the space to string warp threads across the house. Important, yes, did I want to spend $20 on them? No.
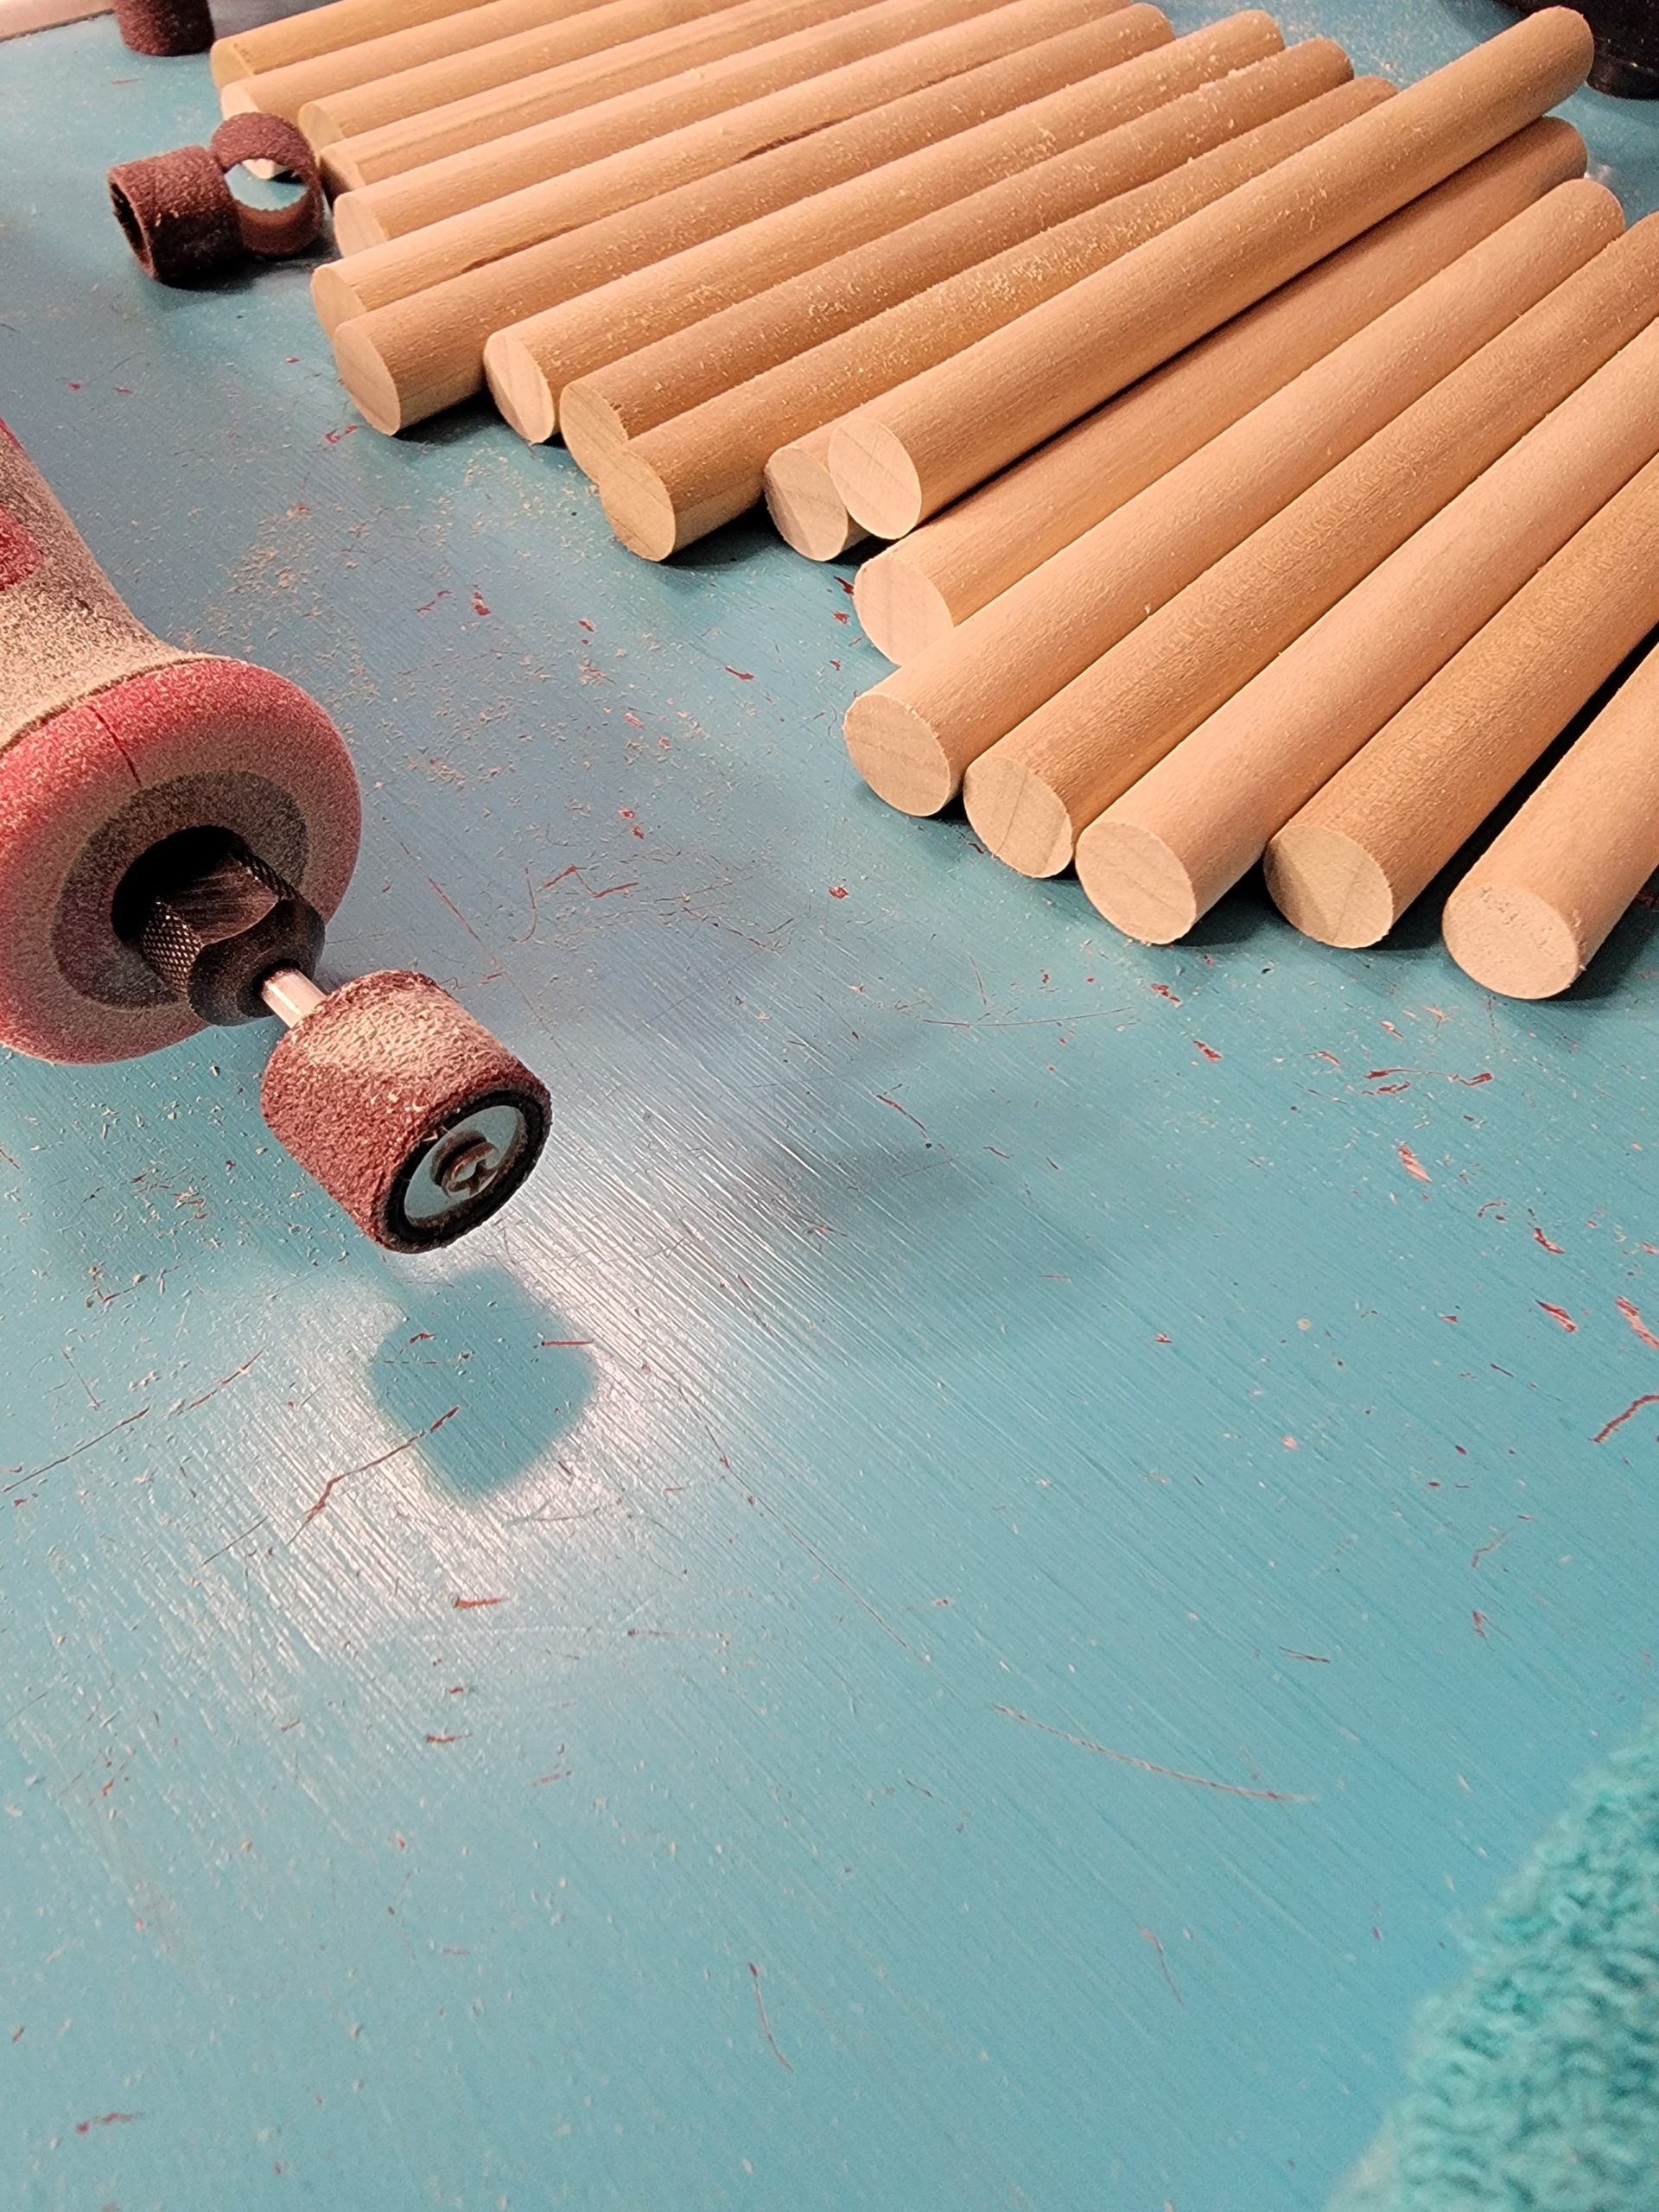
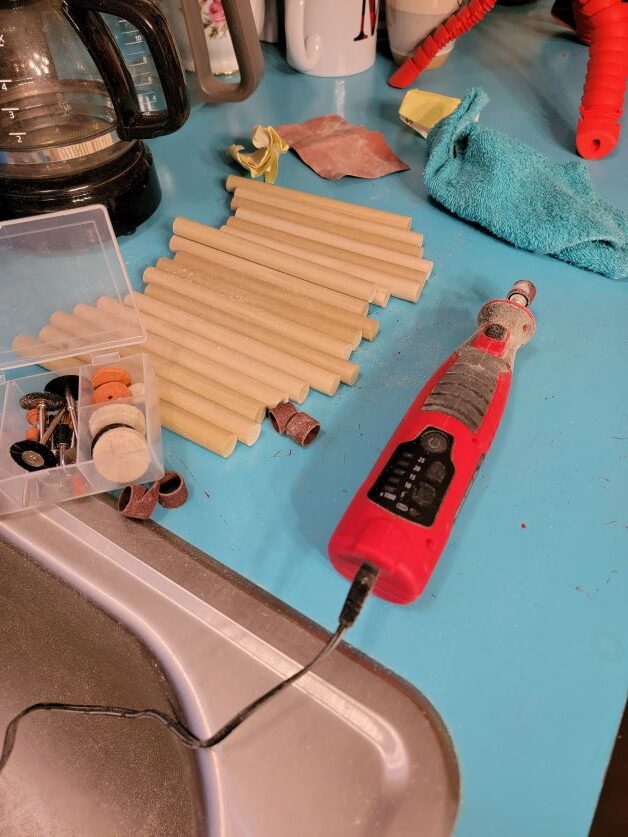
Say hello to my little friend, Hyper Tough rotary tool. This was all I needed for do-it-yourself warping pegs. I had my husband cut a 48” dowel into 6″ lengths. Then I took the rotary tool and sanded the ends down until they fit snuggly into the holes.
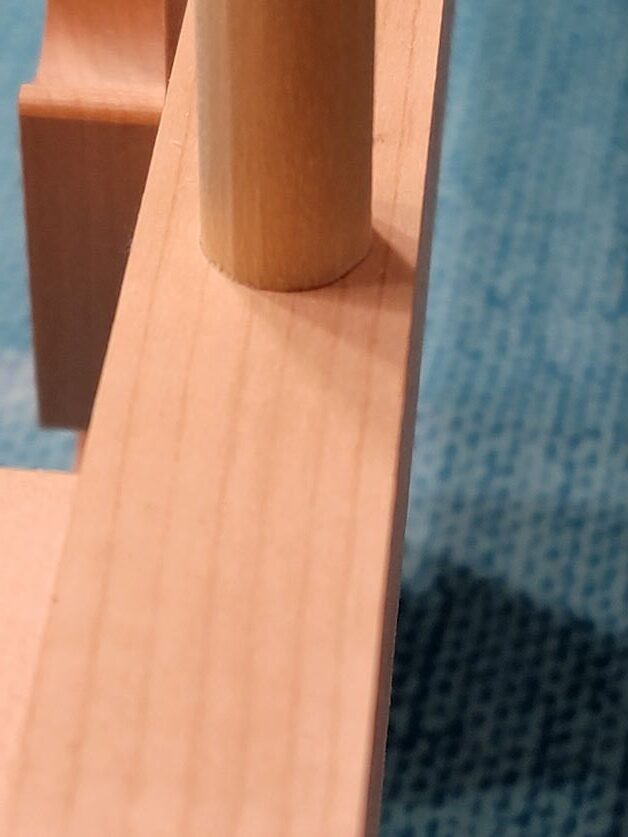
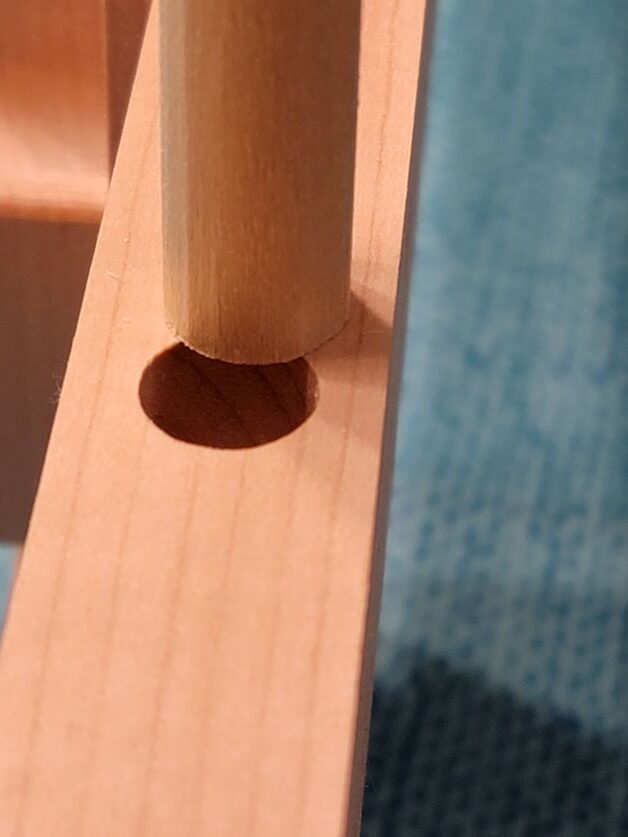
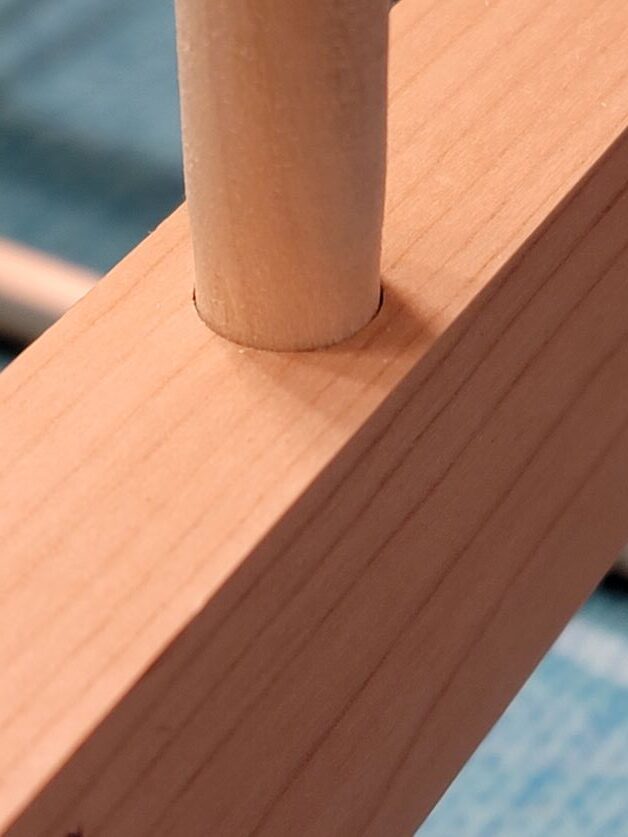
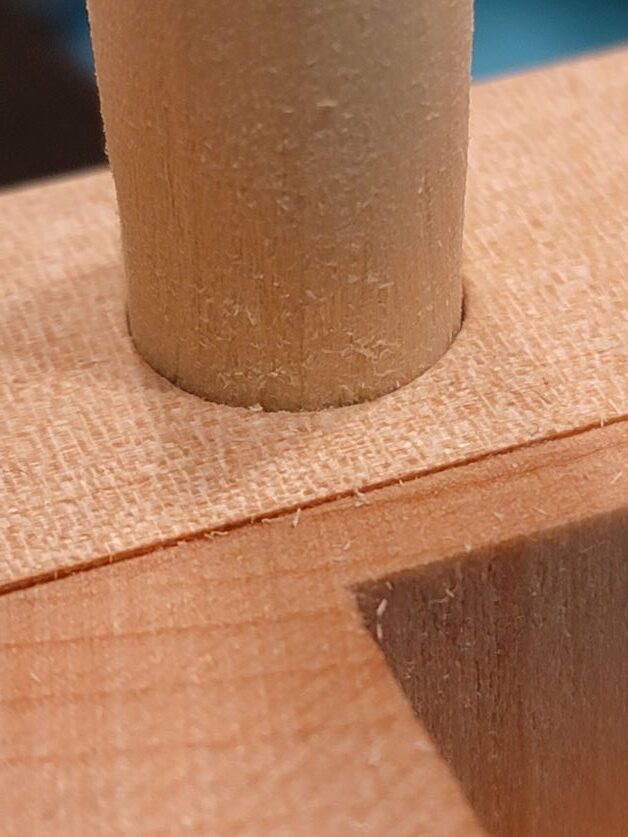
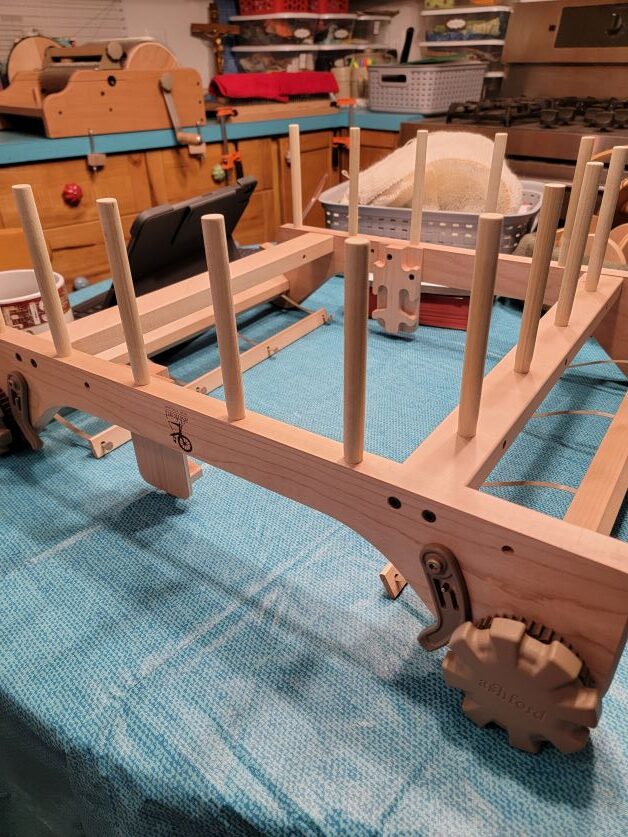
In this last picture you can see the taper of the do-it-yourself warping pegs. They have a nice and snug fit so they don’t loosen up and ruin your warp. I made each peg separately by eyeballing. Test fit them every now and then to make sure you aren’t taking off too much at the bottom.
It took some time but it was well worth it. There is also a feeling of pride in the work you have done.
What is the take away here? If you already have the tools to do the job, why not do the job?
You May Also Like
Hamilton Hat-How I made 24 Gifts in 64 Days Part 3
August 14, 2018
Captain America Quilt-How I Made 24 Gifts in 64 Days Part 4
August 21, 2018
