Captain America Quilt-How I Made 24 Gifts in 64 Days Part 4
 Making gifts for Christmas ALWAYS seems like a FANTASTIC idea, right? You’re so excited to get all the stuff to make that special person that special gift. Oh, it is SO EXCITING!!
Maybe you learned a new skill or craft, and you can’t wait to make those four people on your list a new pair of socks or a hat…am I right?
Well, in this series, you will see how my gift making came out of sheer necessity. There just wasn’t enough money for a retail Christmas for fourteen kids and my husband. I had to get crafty in more ways than one.
Captain America Quilt
So, I guess Captain America doesn’t need an introduction. He is my second oldest daughter’s favorite superhero. While shopping for fabric, this was the most difficult choice to make. I didn’t want it to be too babyish and I didn’t want to make it too formal or flowery because none of the other kids’ quilts were going to be made that way so, we chose Marvel fabric.
Quilt Details
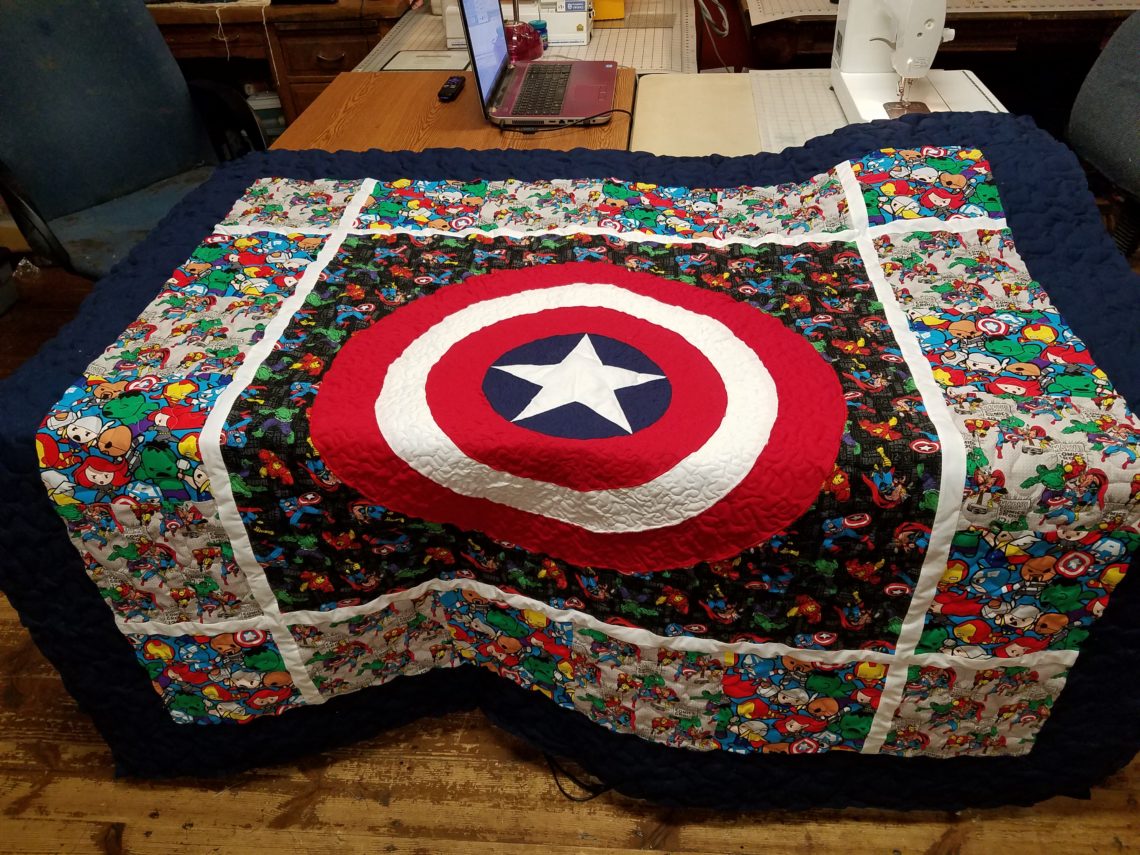
The outstanding thing that identifies something as “Captain America” is his shield. At least that is what I thought so I made the focus of the quilt the shield. I used my triangular quilting ruler to cut out the points for the star. Admittedly, it took me a few times to freehand a star but I think it turned out well in the end.
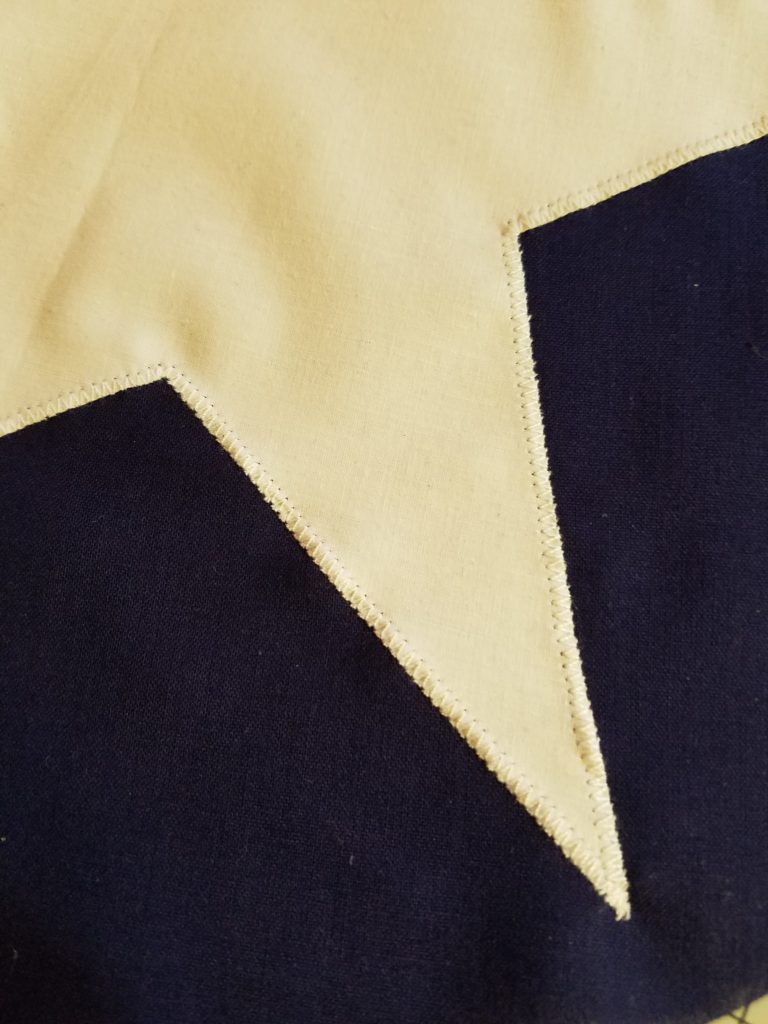
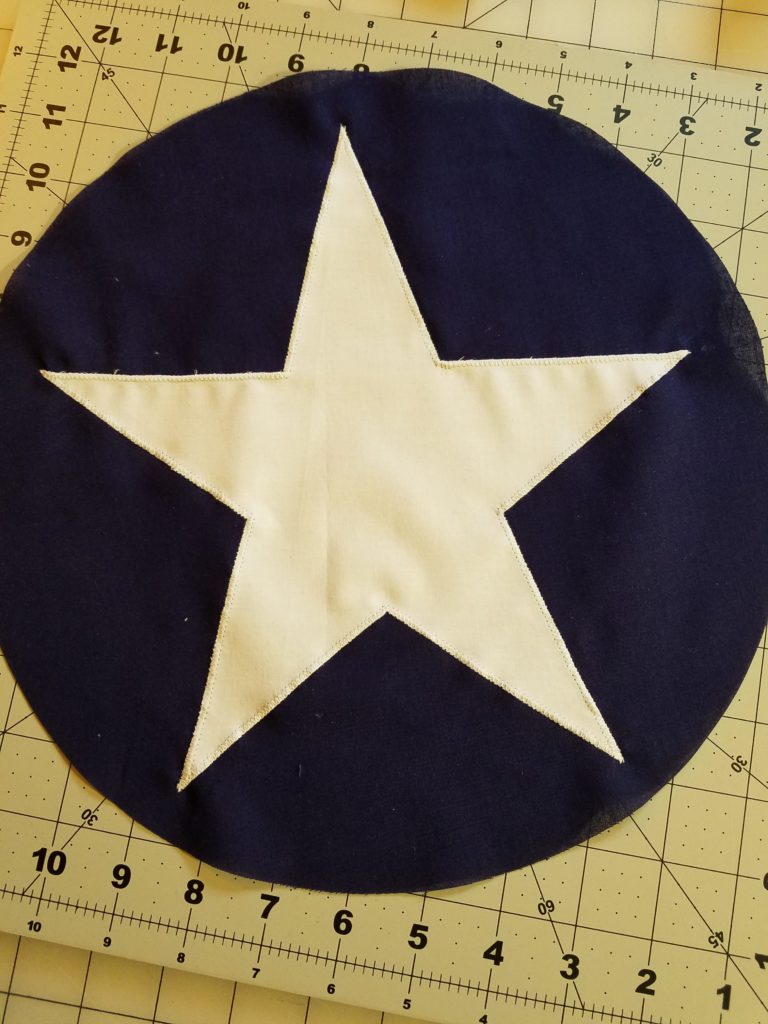
I centered it on a dark blue circle and machine appliqued it with a zig-zag stitch.
When that was done, I centered the blue circle on a red circle and machine appliqued that down.

Finally, I centered the red on white then one more time on red and the center of the quilt was complete.
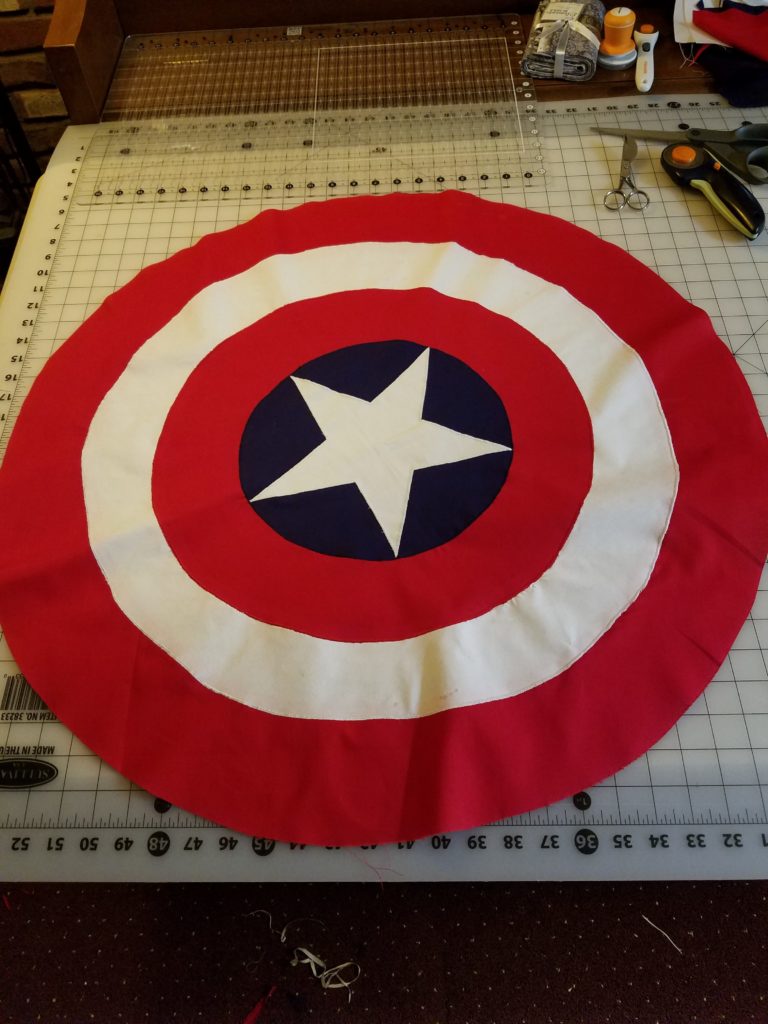
Then I took a look at the fabric I had chosen to make the quilt from and thought the red would stand out best on a dark blue. So, I chose the darkest of the character fabrics and centered the whole shield on that and appliqued.
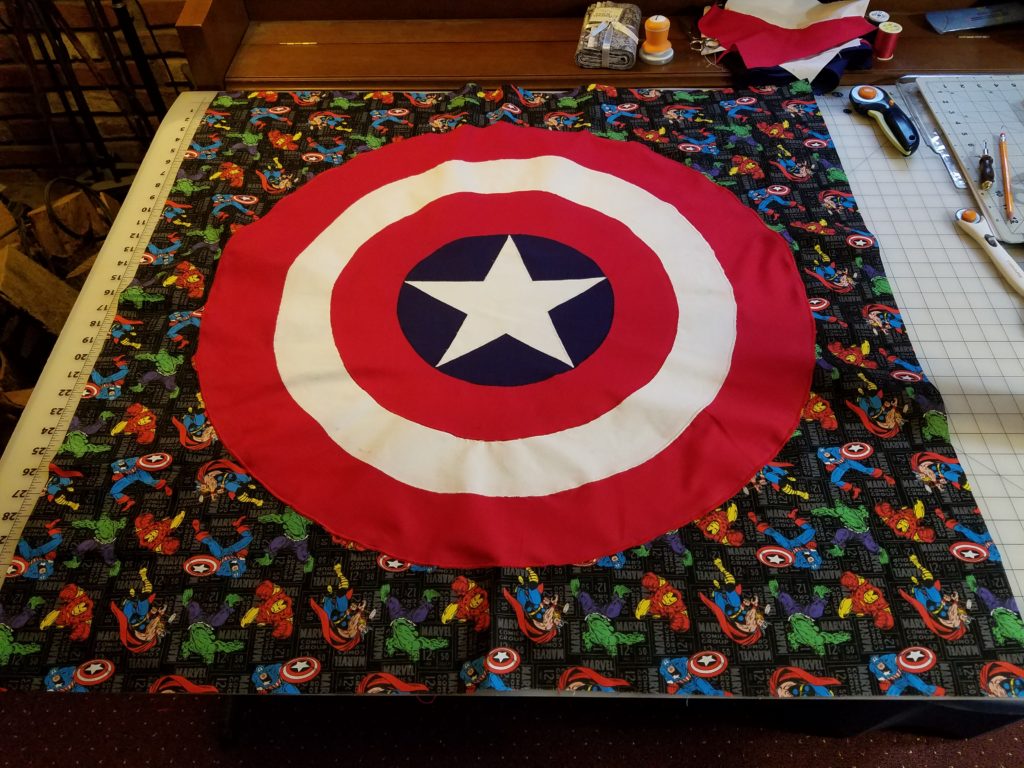
After this, it was a matter of fitting in enough of the other fabrics in a way that would look good and make the quilt grow quickly. I did have 16 others waiting in the wings.
I laid the center out on the bed and looked at different situations or layouts and decided to break the fabrics up with some strips of white and just make symmetrical blocks of the other fabrics around the center.
All the quilts were designed on the fly this way.
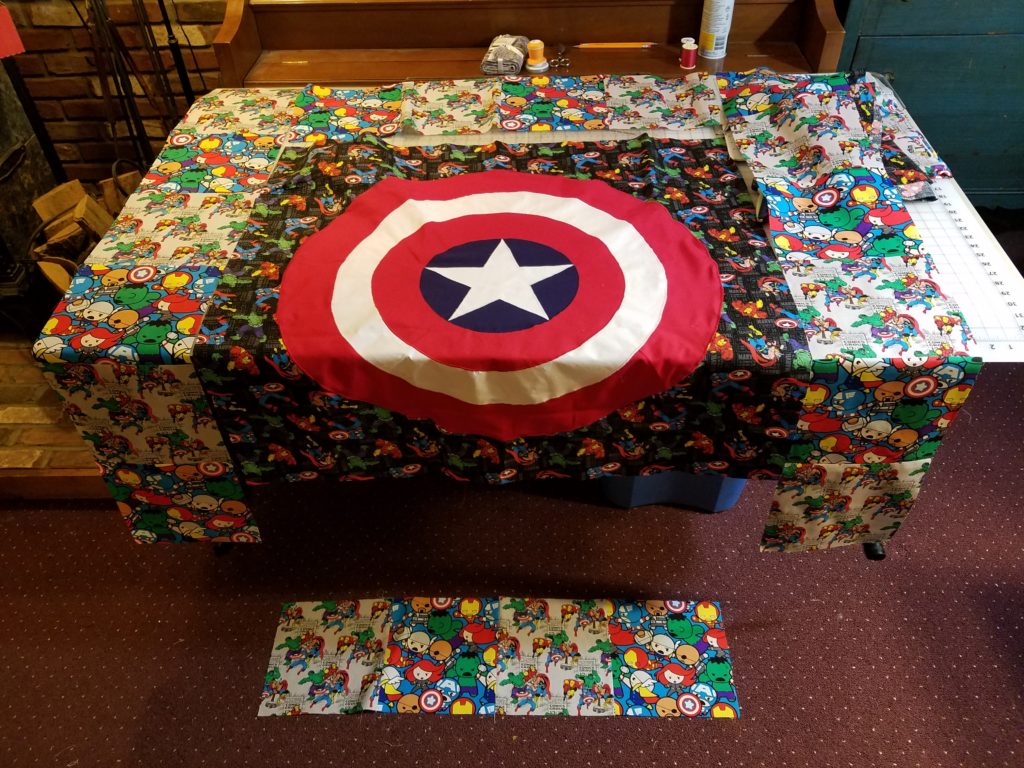
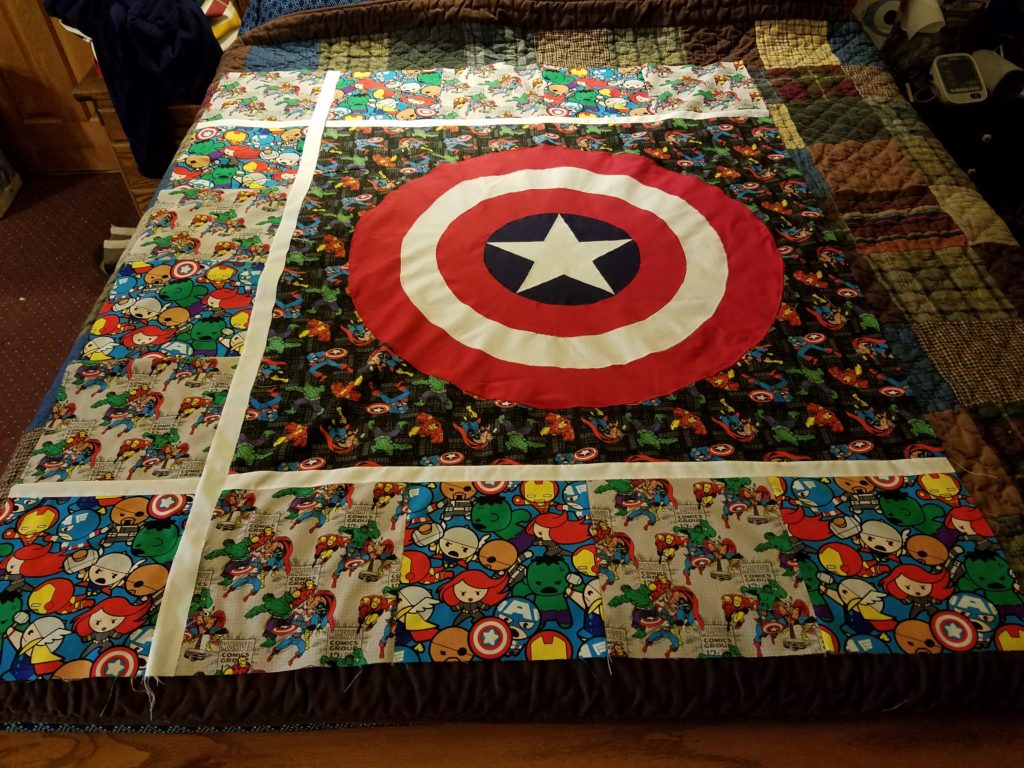
The finished product was pretty fun if I do say so myself.
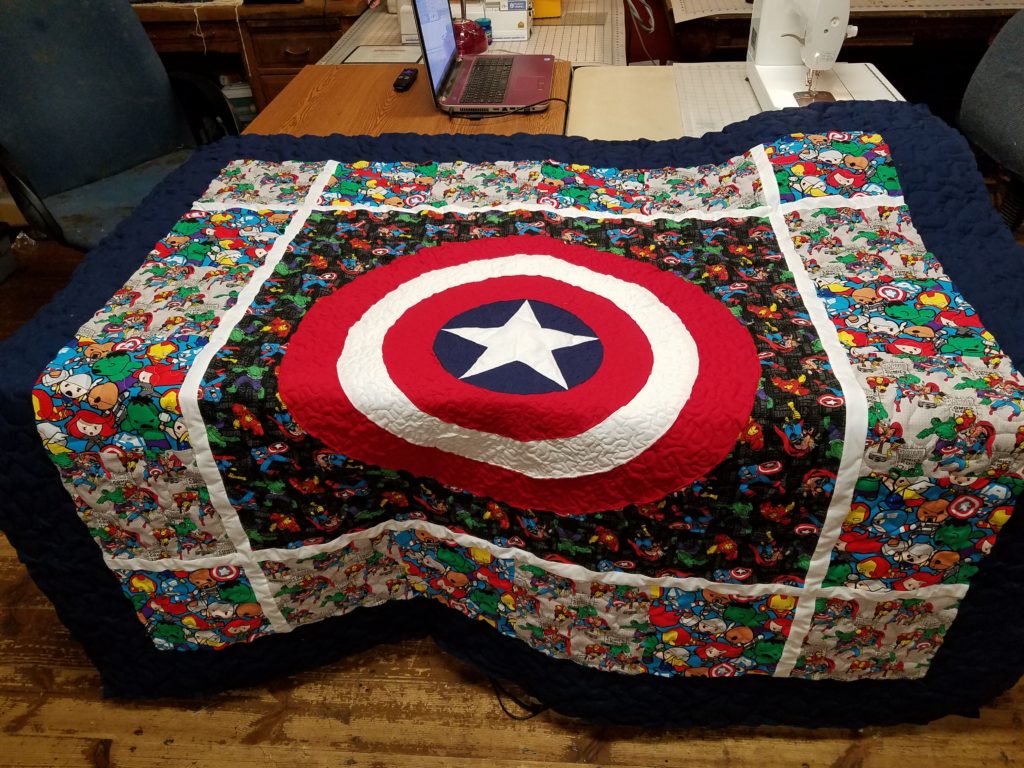
How Long Did I Work?
The piecing of the quilt took me an afternoon. The shield took the longest. Then the actual sandwiching and quilting took about four hours. One more hour for binding.
What I Used and How Much I Spent
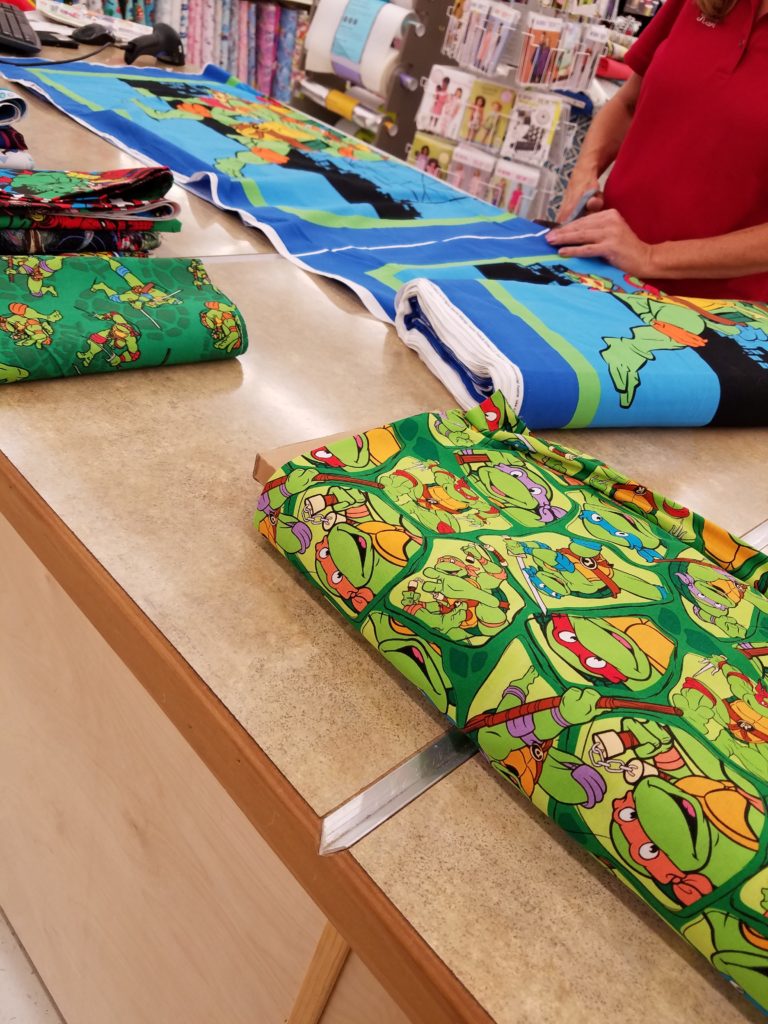
I used six yards of marvel character prints from Pat Catan’s. That is a local craft store around our area. They had a large variety.
For each quilt, I bought two yards of three different prints and decided that would have to be enough.
The batting I bought on sale at Joann Fabrics when it was 50% off then I used a 40% off coupon for my entire order which made the batting about $1.00 a yard. I bought 45 yards that day which was enough to squeeze out 16 of the 17 quilts.
Finally, I found flat twin sheets at Walmart for just under $5 each. That became the backing and binding for the quilts. I made the quilts a certain size so that I was assured one sheet would be enough.
NOT. BAD. The entire quilt cost about $33 in materials. 
All in all, it was a great project! It even was featured on the child’s Snap Chat…I feel flattered. 😁
You May Also Like
I Realized I Had Yarn Boredom
August 12, 2019
Taking Stock of Craft Supplies-Patterns
January 11, 2020